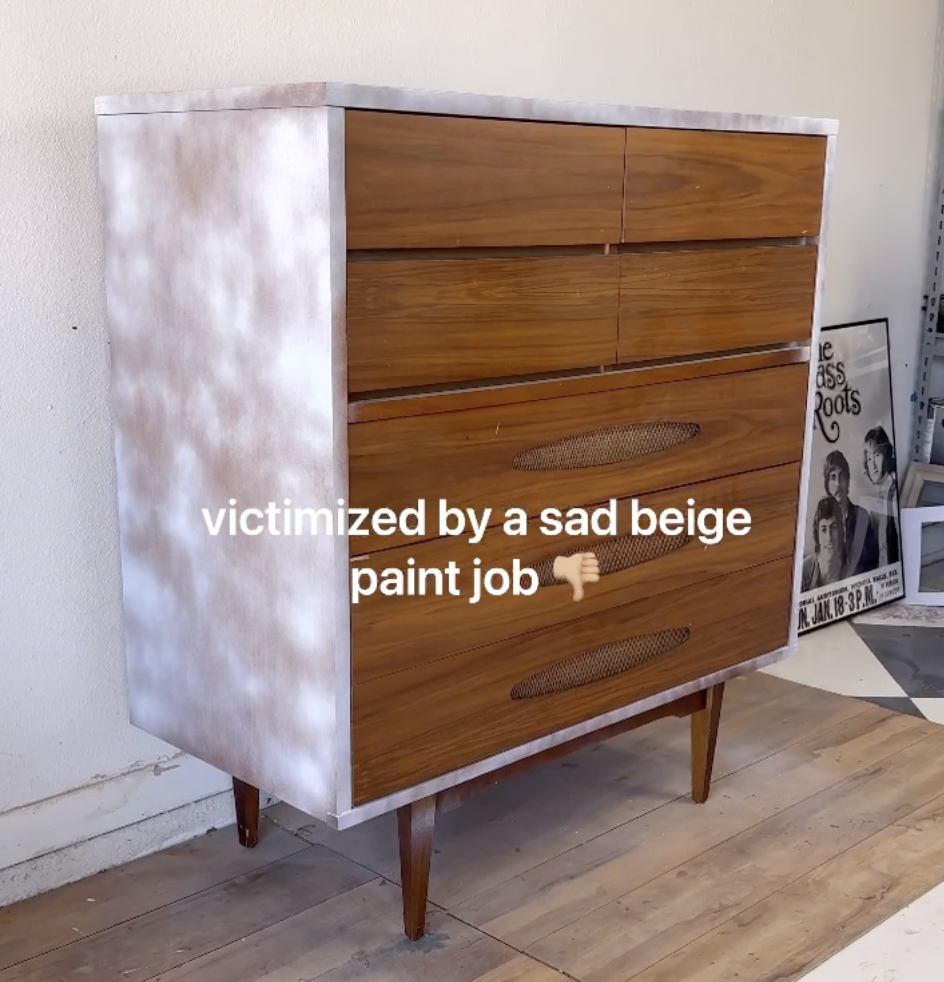
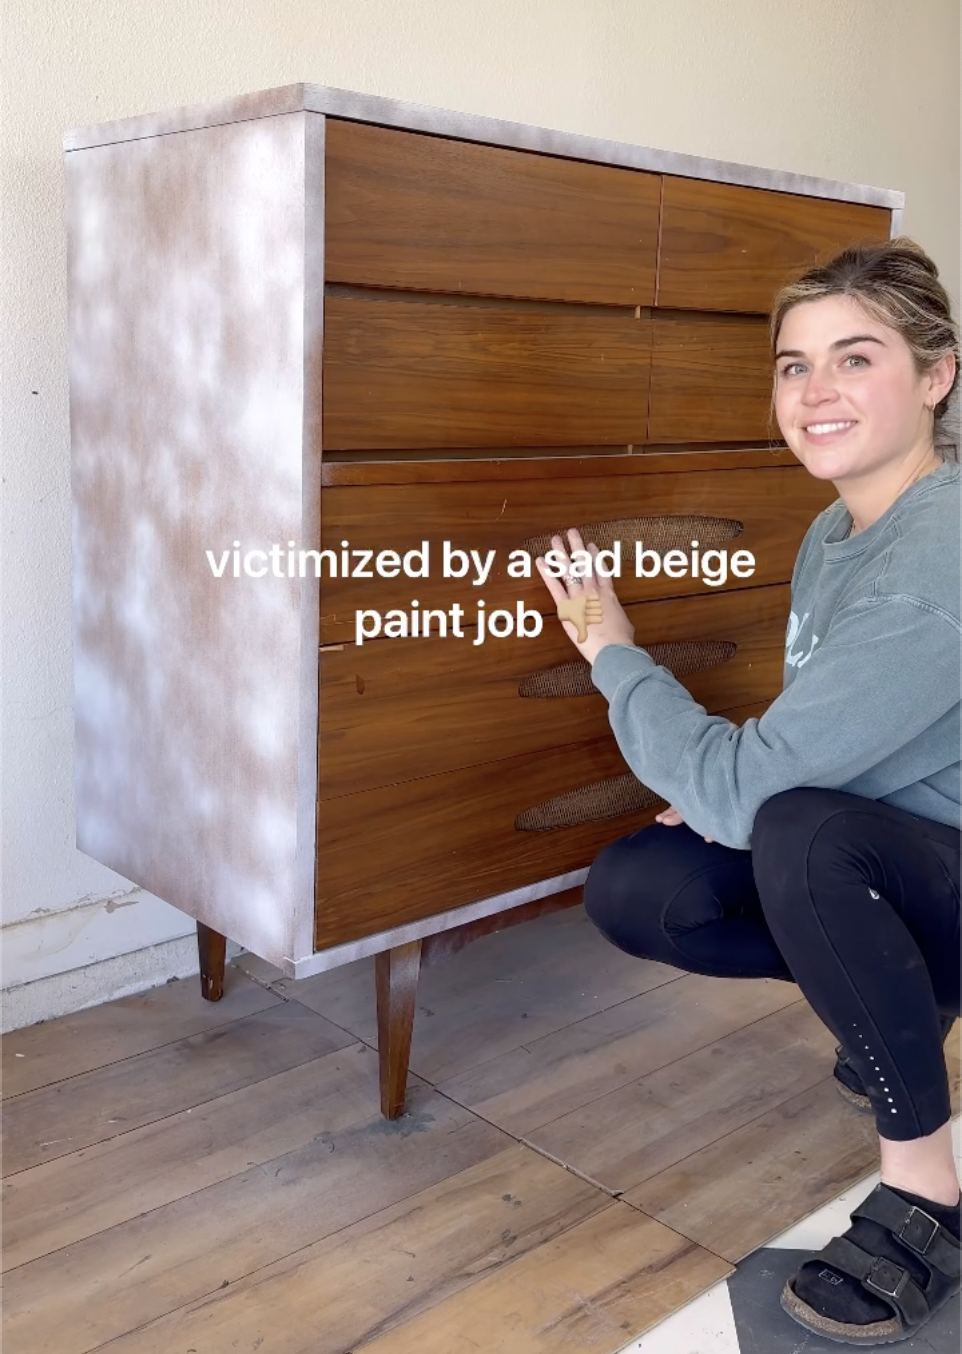
saved from sad beige! mcm mccoy restoration
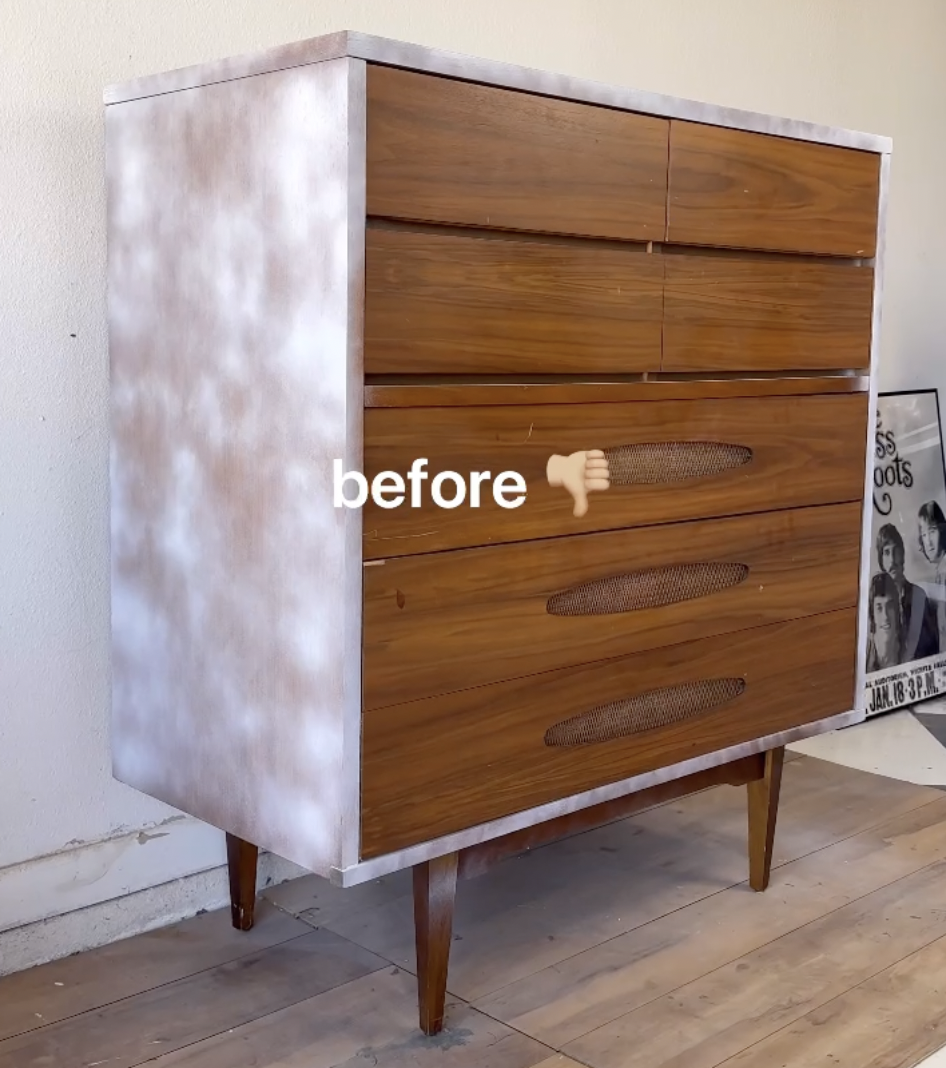
Another piece of furniture saved from the dull embrace of beige paint! 🌈🙌🏻 Now, let me tell you, there's absolutely nothing wrong with paint! But when it comes to certain pieces, like this McCoy dresser, preserving the natural beauty of the wood is essential. I snagged this gem for $120, and boy, am I glad I did!
If you want to skip all the good stuff… here’s the full list of supplies used!
Let's dive into the lively journey of restoring this dresser and bringing it back to it’s original glory!
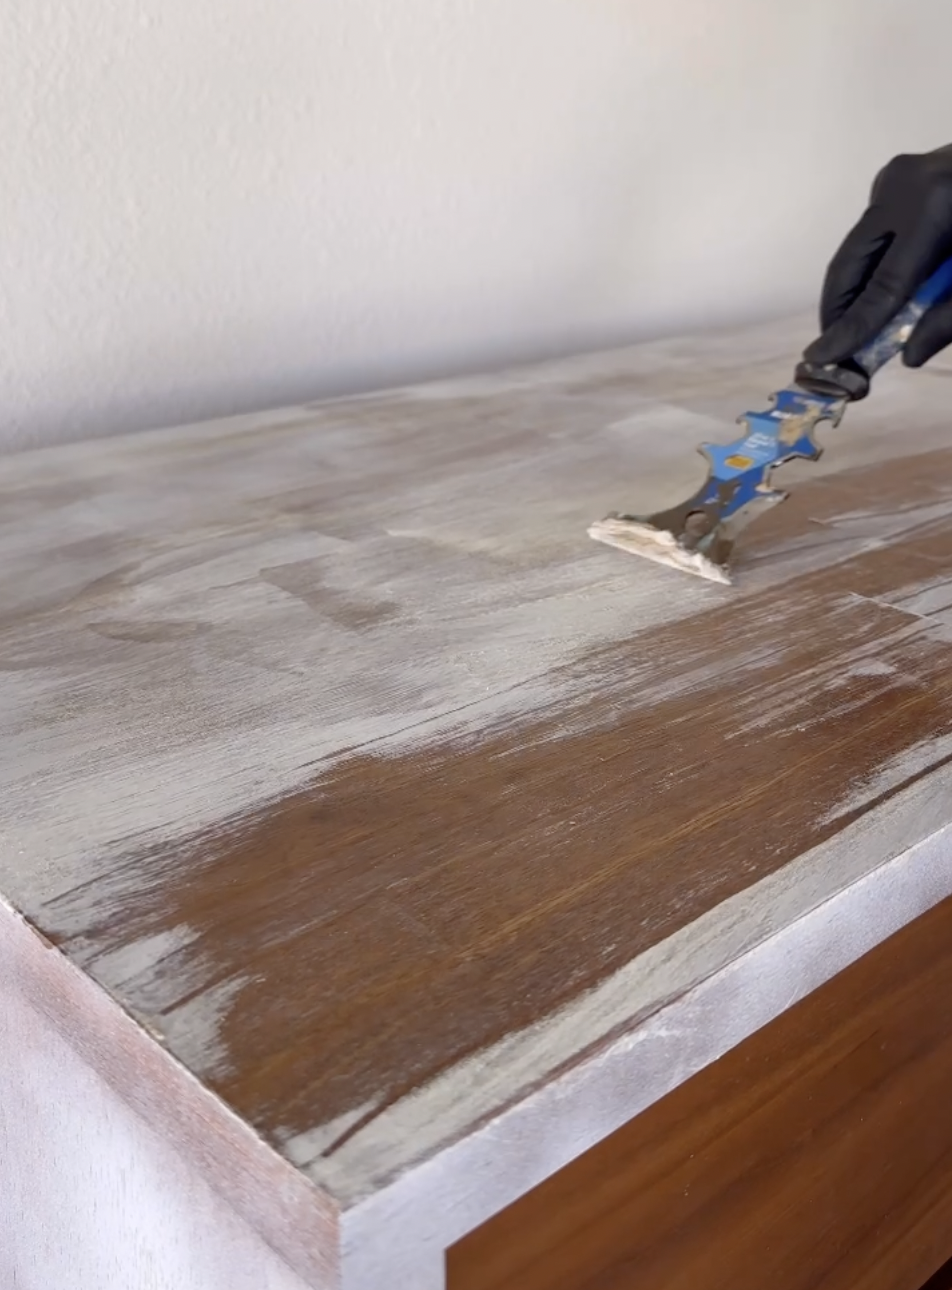
Step One - Rescuing from Beige
After bringing the dresser home, I knew the first step was to bid farewell to its primer. Armed with a chemical stripper and a painter's tool, I stripped away the old paint to reveal the potential hidden beneath… some gorgeous walnut veneer!
Step Two - Scrubbing Clean
Once the primer was removed, I scrubbed away any lingering residue using #000 steel wool and mineral spirits. It was essential to start with a clean canvas for the restoration process.
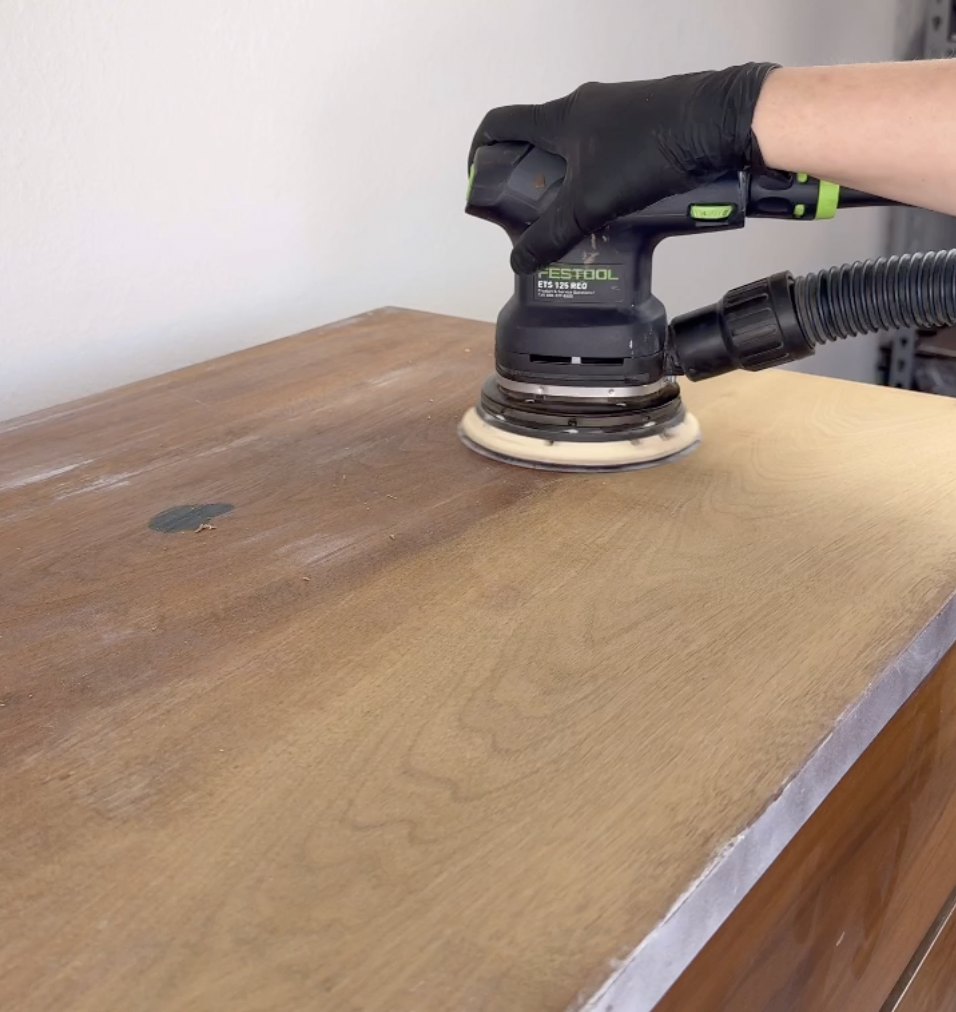
Step Three - Sanding to Smoothness
With sandpaper and my beloved Festool Orbital Sander in hand, I embarked on my sanding journey, starting with 120 grit and gradually moving to 180 and 220. Each pass brought the surface closer to silky smoothness!

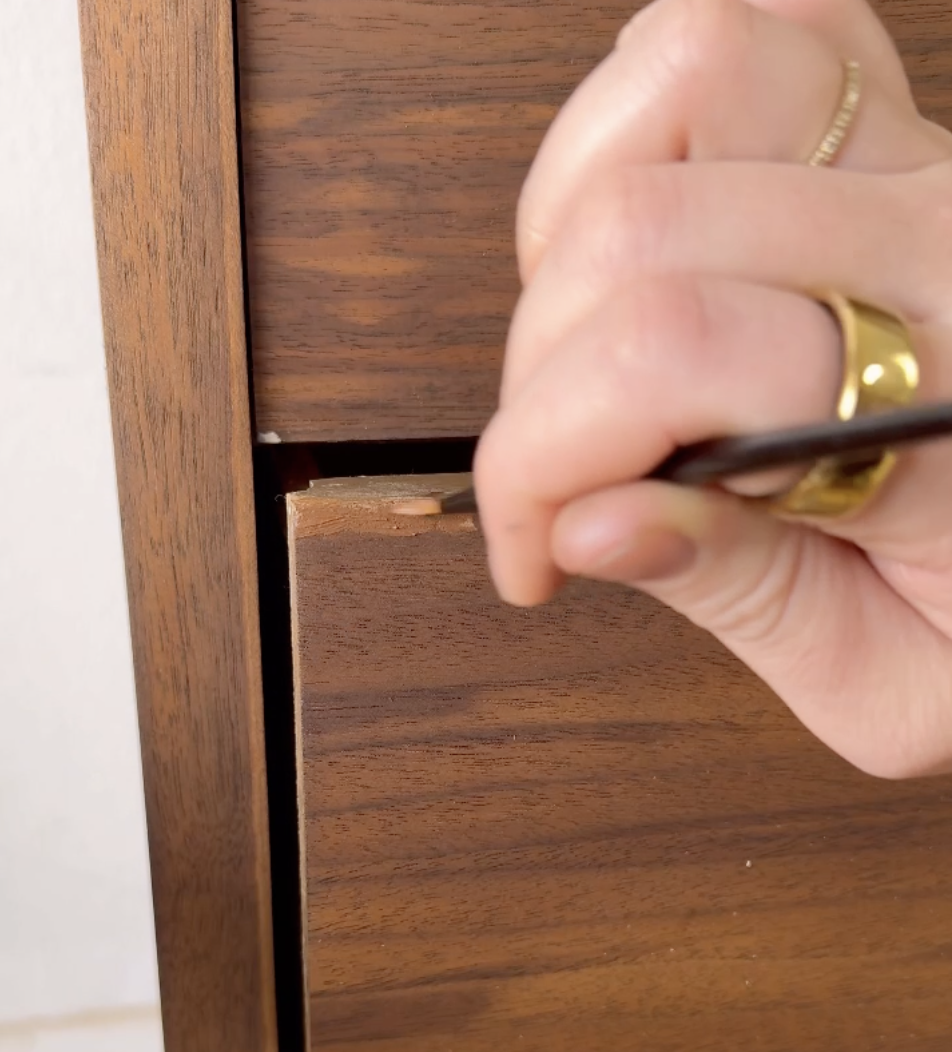
Step Three - Mending with Care
Addressing the chipped veneer was one of the easiest parts. I applied epoxy putty with precision, filling in the imperfections and ensuring a flawless finish. Once it cured, I sanded it down smooth to be flush with the surface!
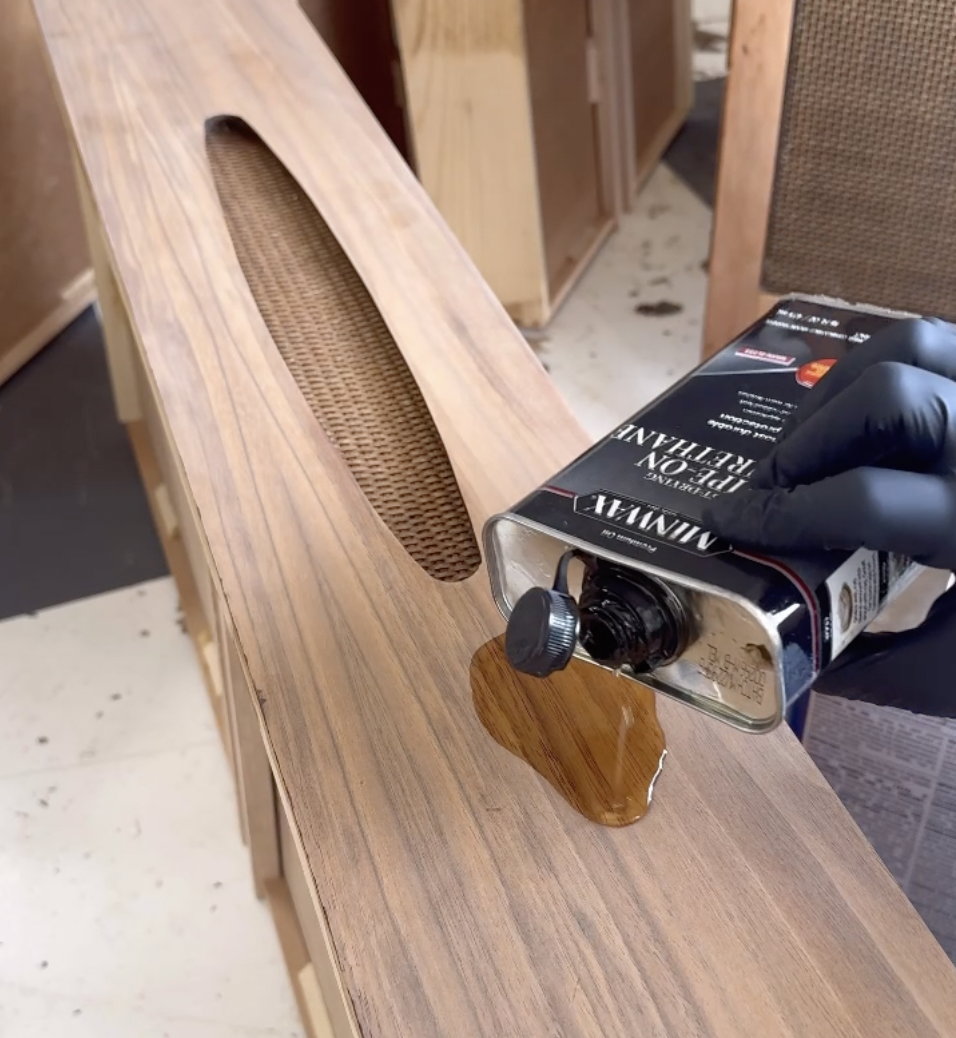
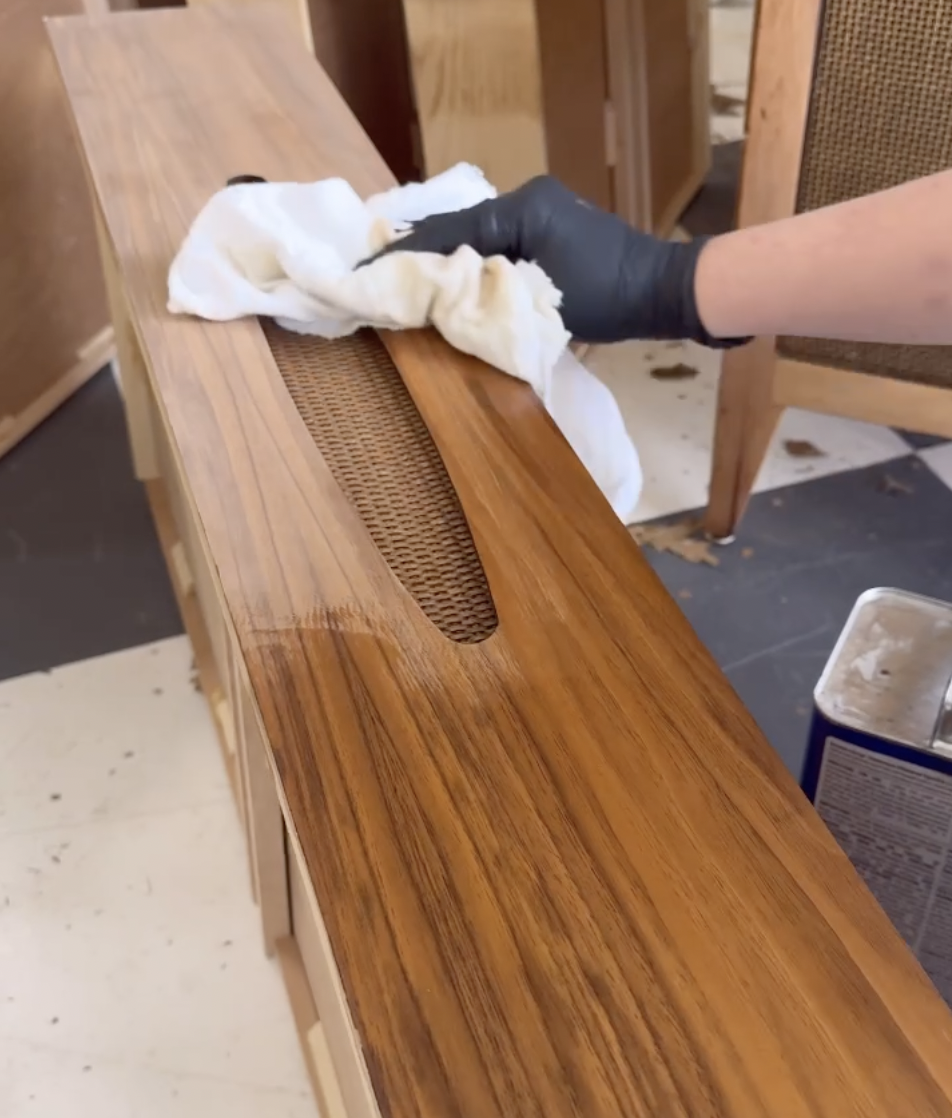
Step Four - Oil & Seal!
With the surface prepped and repairs made, it was finally to seal. A wipe-on oil-based polyurethane is my favorite product to show the enhanced the wood's natural hues. It’s very user friendly and cures quickly. I always apply it with a lint free cloth or an old tee-shirt! I like to hand sand with 220 grit between coats for a flawless finish. I apply about 3-5 coats total. .
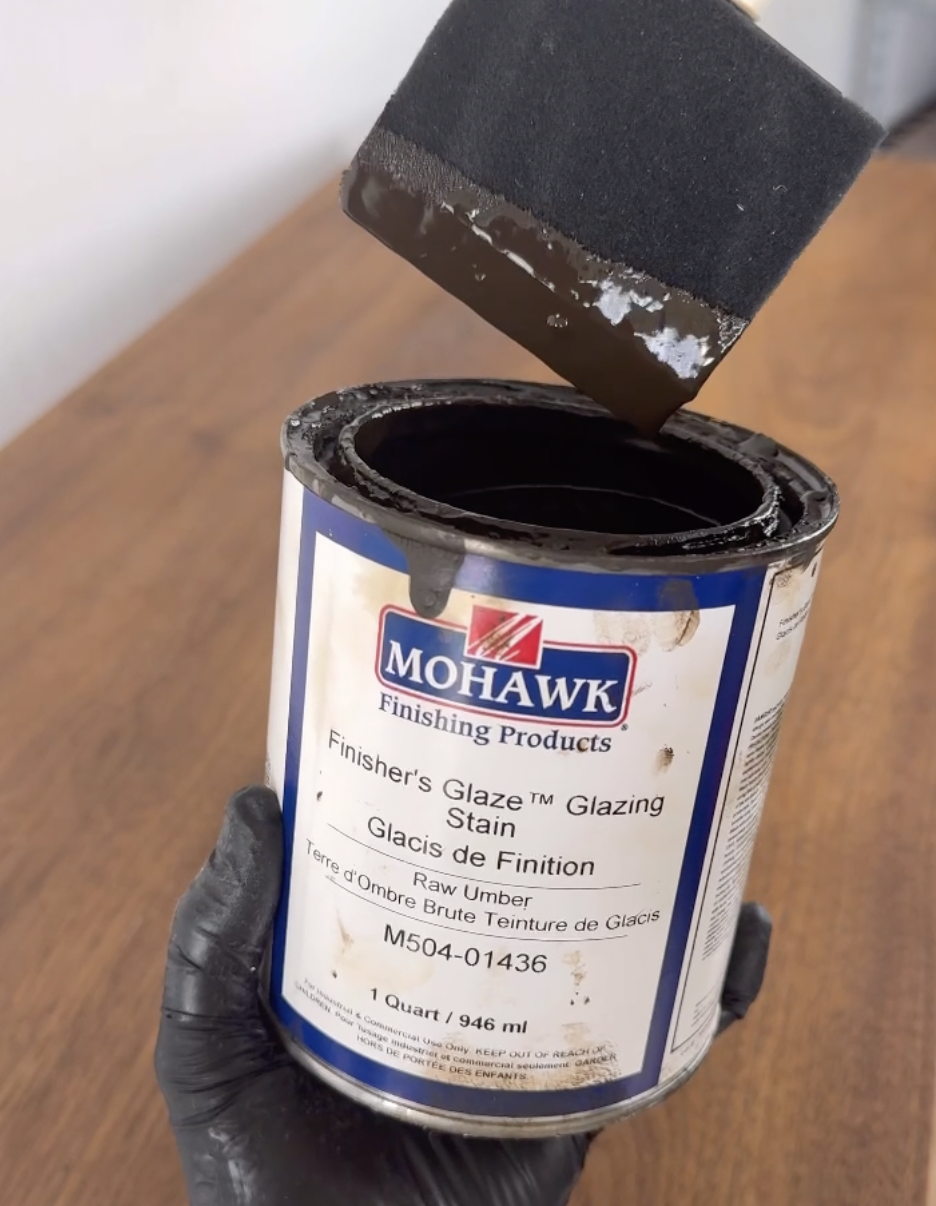
My Oopsie
Applying the oil-based polyurethane revealed traces of the primer stuck inside the wood grain. I had not noticed this prior to sealing the piece. To fix this, I applied a finishing glaze over the polyurethane. I wiped on a coat, then wiped off!
Step Five - Color Match Repair
I used a veneer paint kit to disguise the epoxy repairs I made earlier, ensuring seamless integration with the dresser's original aesthetic.
Step Six - Sealing the Deal
Like deja vu, I sealed the dresser with a few more coats of wipe on polyurethane, ensuring durability without compromising on its radiant appearance!
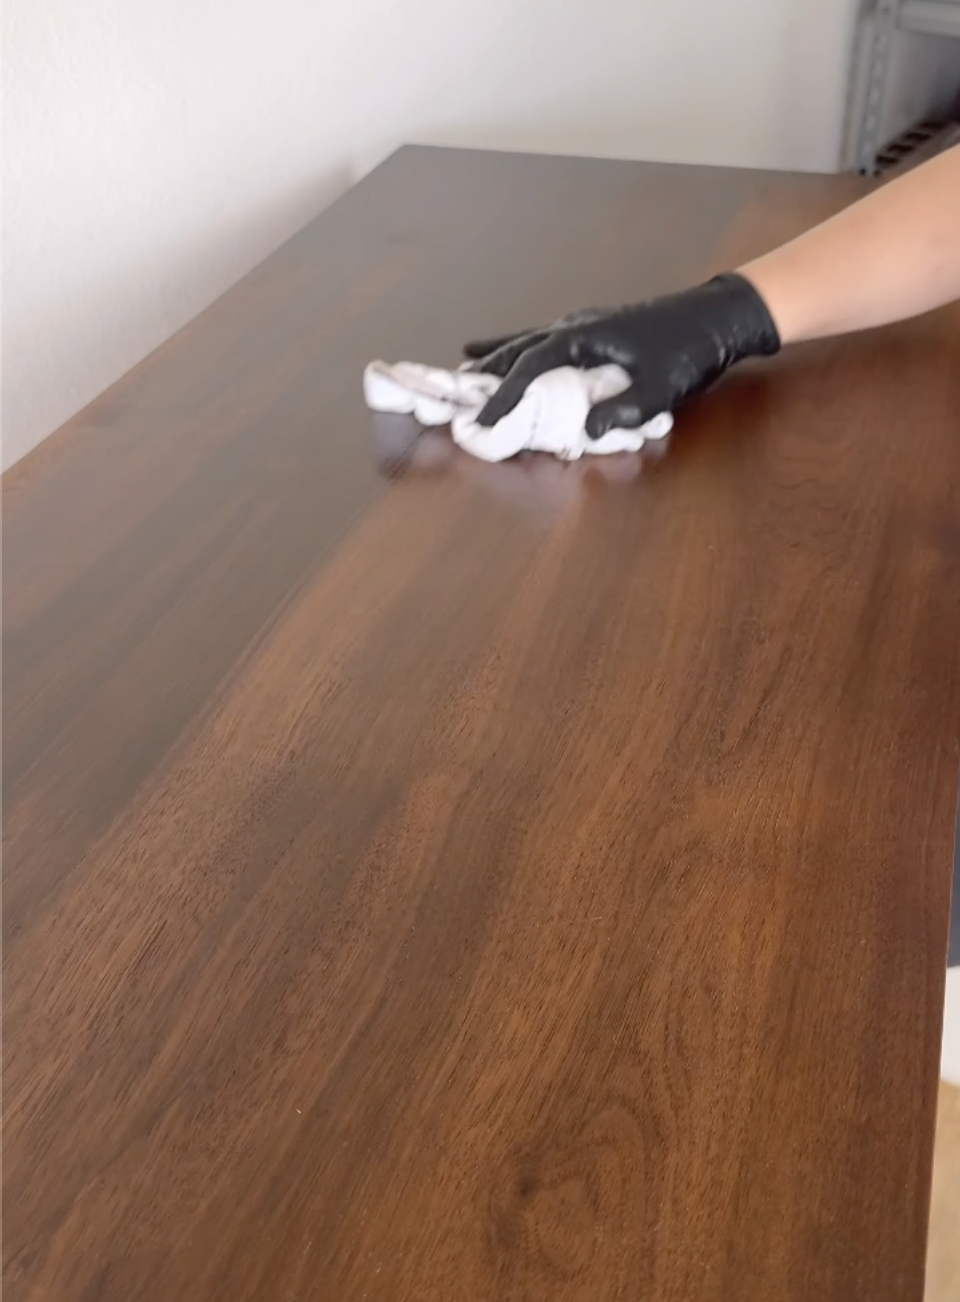
the final result !
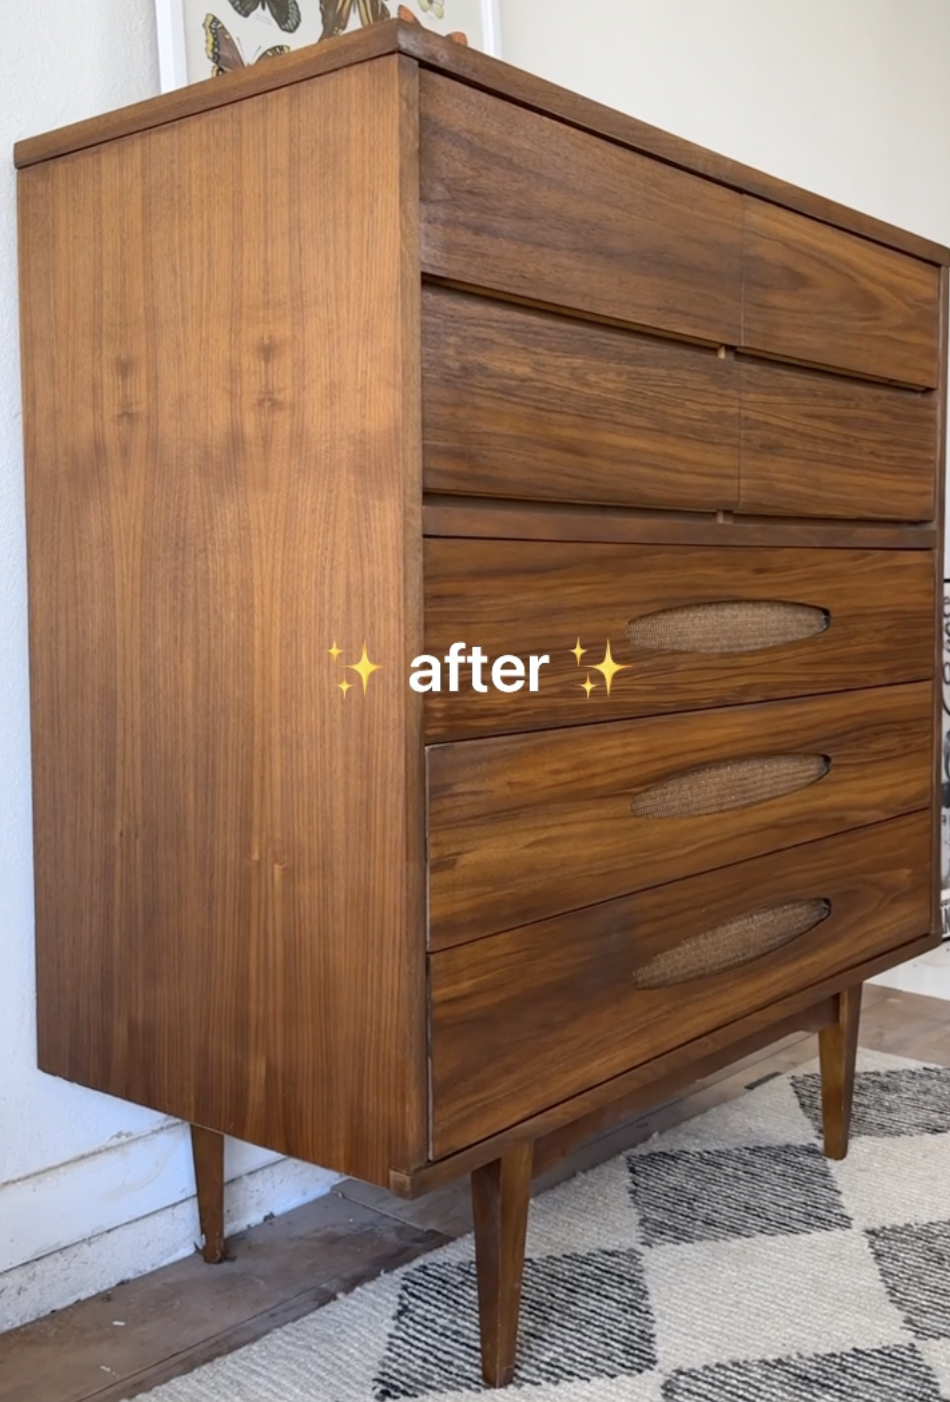
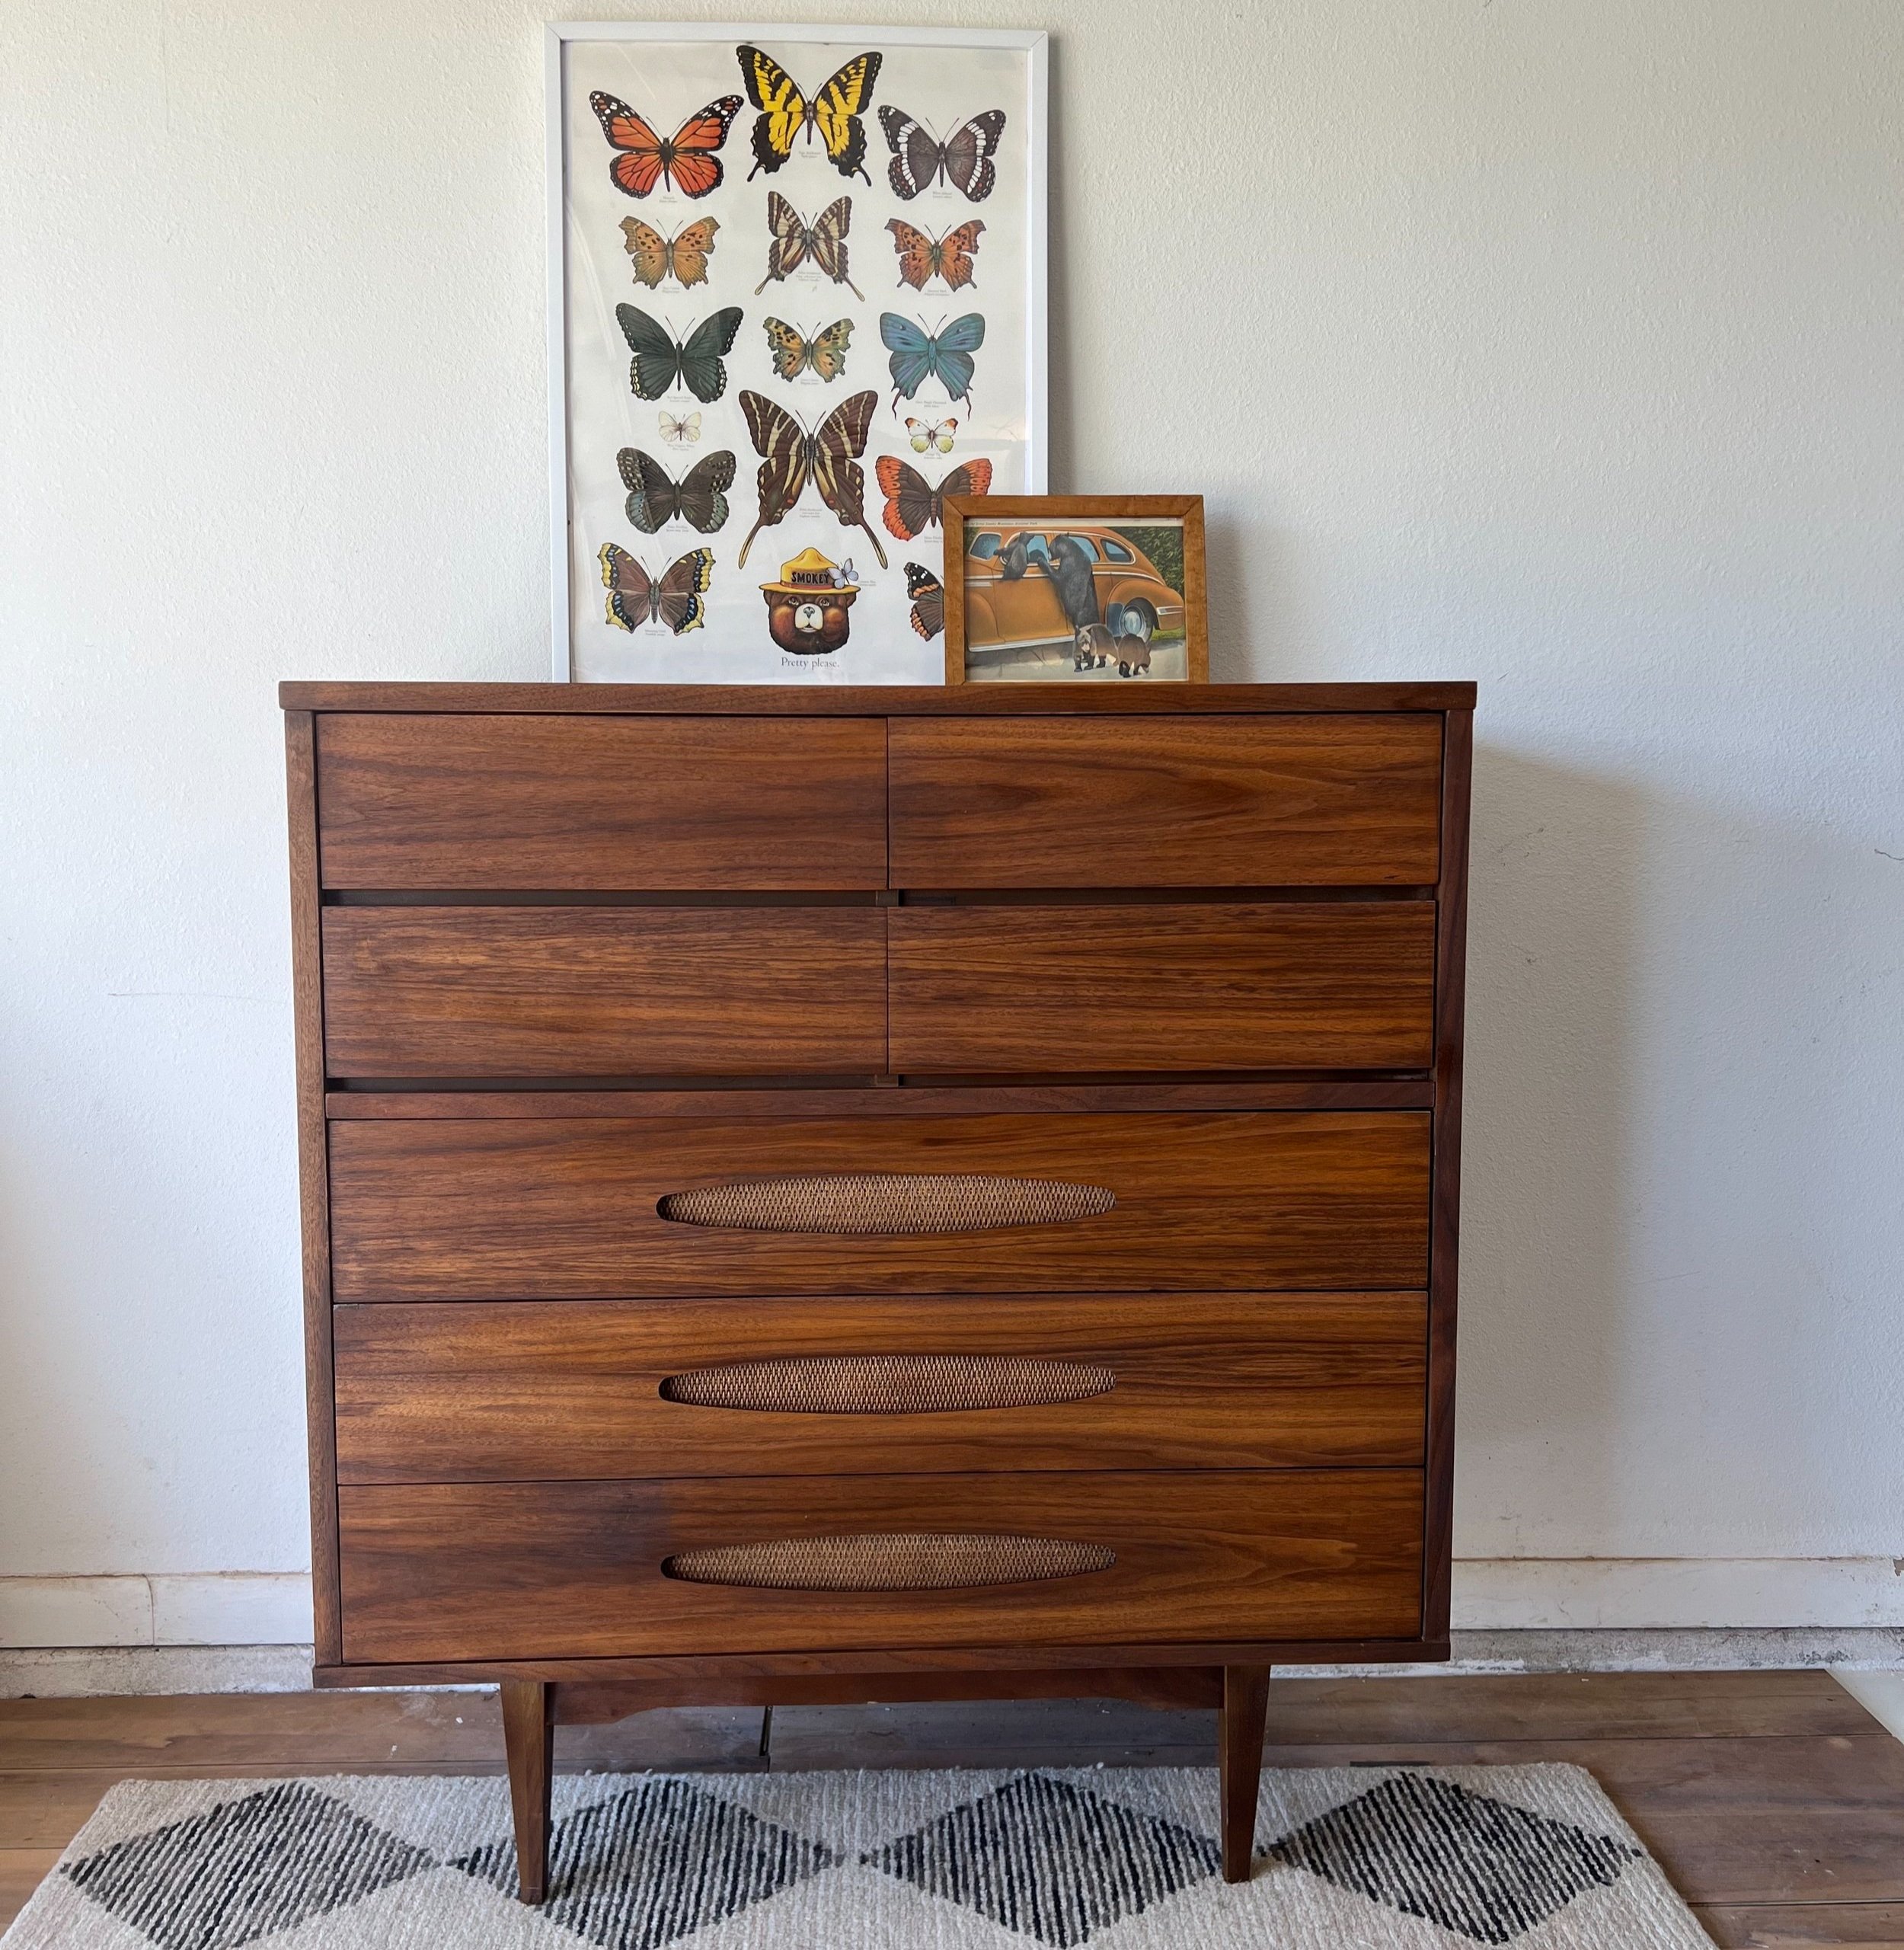
The result? A dresser that radiates with personality and charm! The once-muted piece now boasts a vibrant identity, ready to infuse any space with energy and joy. Now, as for pricing, that's where I need your help! While McCoy furniture may not be a household name, this dresser's transformation speaks volumes about its newfound allure.
What do you think? I'm all ears for your suggestions and thoughts in the comments below! Let's continue to celebrate the art of restoration with a splash of color and a whole lot of flair! 🎨✨
Supply List:
Here’s the full video!
Disclosure: I only recommend products I would use myself and all opinions expressed here are my own. This post may contain affiliate links that at no additional cost to you, I may earn a small commission.